3 minute read
This being my first week at SSW, and still waiting for my nice shiny new laptop to arrive, I am sitting here at my Wife’s laptop (which is PINK, a requirement to keep the WAF high), until it arrives.
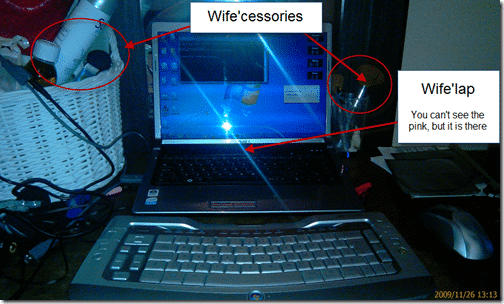
Figure: Current workspace…one wall short of working in a cupboard, but it beats trying to work with the kids underfoot.
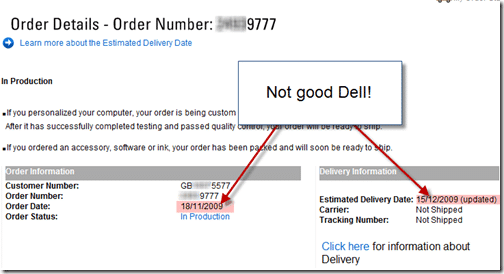
Figure: I know its nearly Christmas, but that’s a long time between order and delivery!
SSW have sent me a .wim (Windows Image) file in the post and I really want to get a look at it before my new computer arrives.
In order to be able to create a clean install very quickly we need to convert this to a Windows 7 VHD. This way when the new computer arrives we can just move it over :) I also want to be able to reinstall my computer quickly. And what is quicker then mounting a new VHD and rebooting.
In order to achieve this there are a number of things that need done:
-
Copy all of the .rar files from the DVD’s

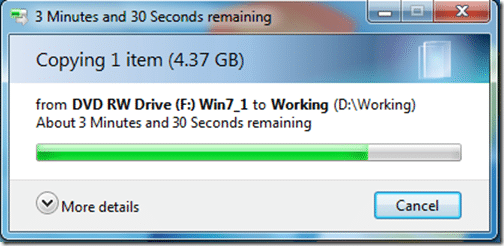
Figure: First disk nearly finished
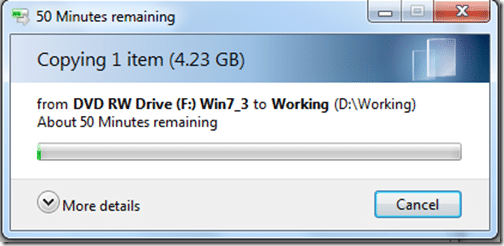
Figure: Third disk is taking a while
-
Use WinRar to fit the 3 packages back together
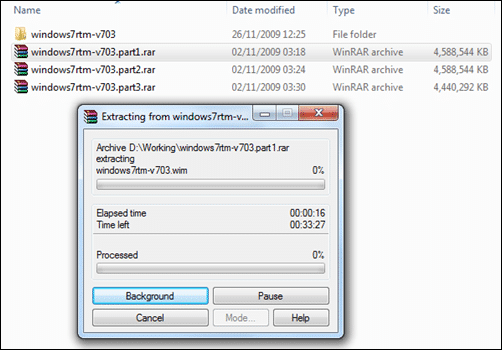
Figure: Joining the wim file together is going to take a while as well. I don’t want to have to do this more than once!
-
**Create a new VHD
**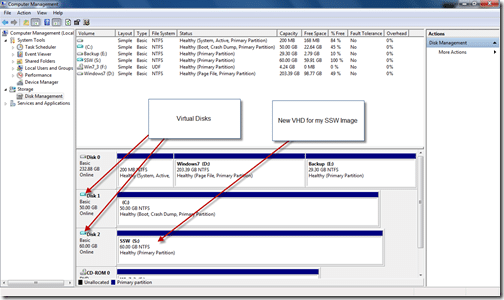
Figure: Showing the physical and Virtual disks on my wife’s pink laptop.
-
Deploy Image to new VDH
In order to do this you will need imageX from the Windows 7 Automated Installation Kit. Check http://blogs.technet.com/aviraj/archive/2009/01/18/windows-7-boot-from-vhd-first-impression-part-2.aspx for more details and scenarios that will suit you.
note: You may look at the Windows(R) Image to Virtual Hard Disk (WIM2VHD) Converter as another solution, but it requires that the Windows 7 Automated Installation Kit be installed locally, where I just downloaded imageX separately and bypassed the 1gb download.
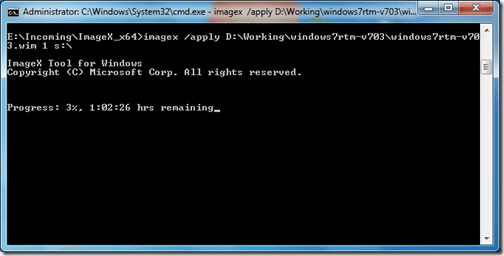
Figure: As usual, this is showing the remaining in “Microsoft Minutes”
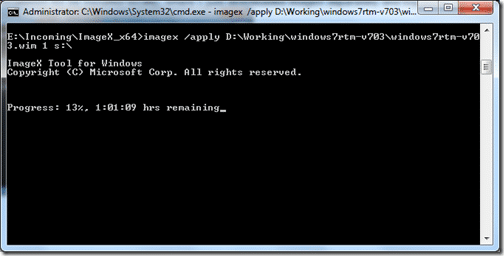
Figure: So 10% took just over a Minute? What is the rest of the hour for?
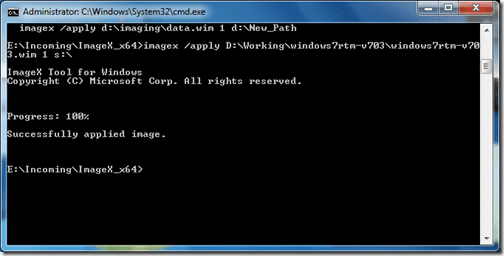
Figure: All done, I don’t know how long it took because I got on with some other things, but it was a while!
-
Detach the VHD
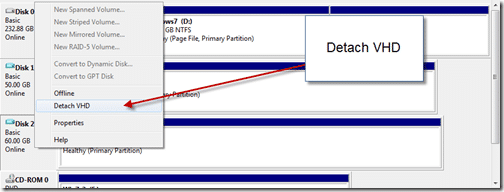
Figure: Detaching the VHD will allow us to copy it.
-
Copy the new VHD
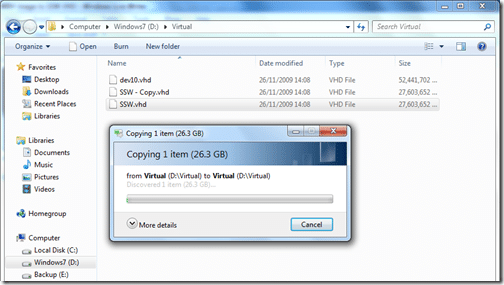
Figure: This will allow me to save ssw.vhd for a rainy day, and use the copy as a working install.
-
Rename the copy to “SSW_001.vhd”
-
Attach SSW_001.vhd
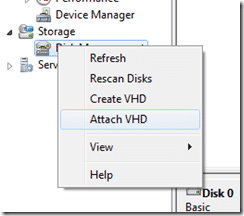
Figure: Attaching a VHD is very easy
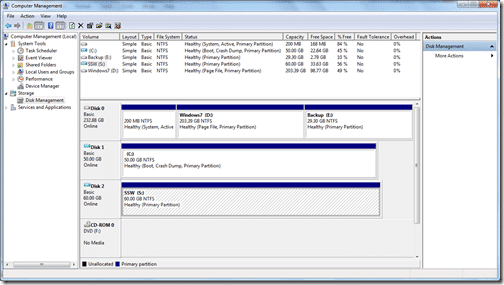
Figure:
-
Add the new SSW*001.vhd to the boot list using the folowing commands:
**_C:>bcdedit /copy {current} /d “SSW_001”
C:>bcdedit /setdevice vhd=[driveletter:]
C:>bcdedit /setosdevice vhd=[driverletter:]
C:>bcdedit /setdetecthal on
*****Note:** detecthal is used to force windows to auto detect the Hardware Abstraction Layer.
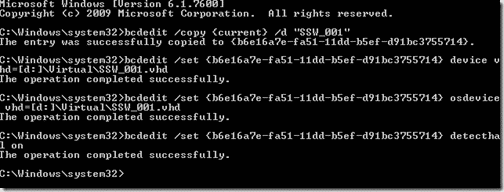
Figure: Added and configured the new Image…lets try it out…
Although this took a long time with 3 long running processes, it will be a lot faster next time as I can start from step #9…
Subscribe to Martin's articles
Writing since 2001
Articles, usually weekly on Mondays. One click to leave.
Enjoyed this? One click, no account.
Smart Classifications
Each classification [Concepts, Categories, & Tags] was assigned using AI-powered semantic analysis and scored across relevance, depth, and alignment. Final decisions? Still human. Always traceable. Hover to see how it applies.